Getting Started
How to start with paramate?
In this tutorial you will go through the basic necessary steps to set up a very simple configurator using paramate and trCAD. The goal is to get an idea how paramate works in general. You can find much more information on the paramate Documentation page.
-
Get a paramate account
Right now paramate is in beta testing for external users. Please contact us for getting access credentials.
-
Write a first configurable CAD file using trCAD
In this tutorial we explain step-by-step how to get your first configurable CAD file using trCAD, paramate’s native CAD system. To learn about alternatives to using trCAD see our list of supported CAD systems.
-
Open any text editor and copy the following script.
open float myLength
{
  name  = "Length"
  descr = "Length of the box"
  value = 10.0
}

make box(myLength, 5, 2)
This trCAD script defines a box with configurable length. Width and height are fixed. -
Save the file, naming it "main.sps".
Information: "sps" is the file extension used for trCAD scripts.
-
Open any text editor and copy the following script.
-
Set up your test configurator in paramate
Follow the steps below to set up your test configurator in the paramate cloud. A more detailed explanation can be found on our Creating Configurators Walkthrough page.
- Log in on the paramate admin page.
-
Add a new configurator
- Click on "Your Configurators".
- Click the button "Create New", choose any name and hit "save".
-
Upload your trCAD file.
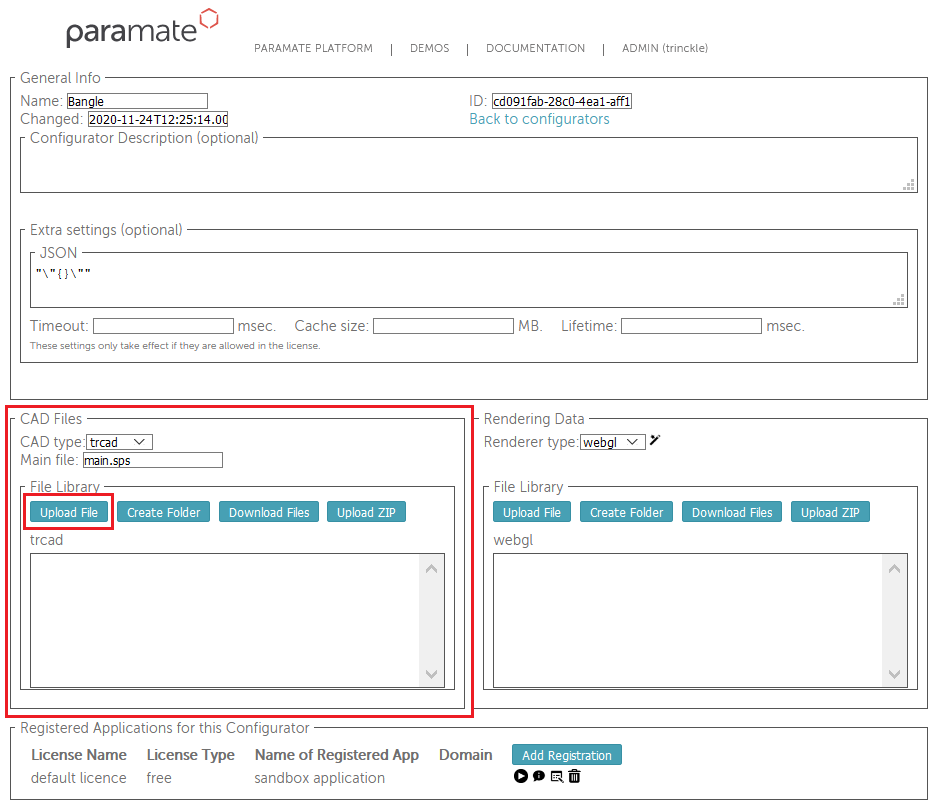
- In the section “CAD Files” leave the “CAD type” selection and the value of “Main file” unchanged (trcad selected, main.sps as the file).
- In the “File Library” hit “Upload File” and upload your newly made script file, that should be called “main.sps” (check that the name is correct).
-
Auto-generate rendering data.
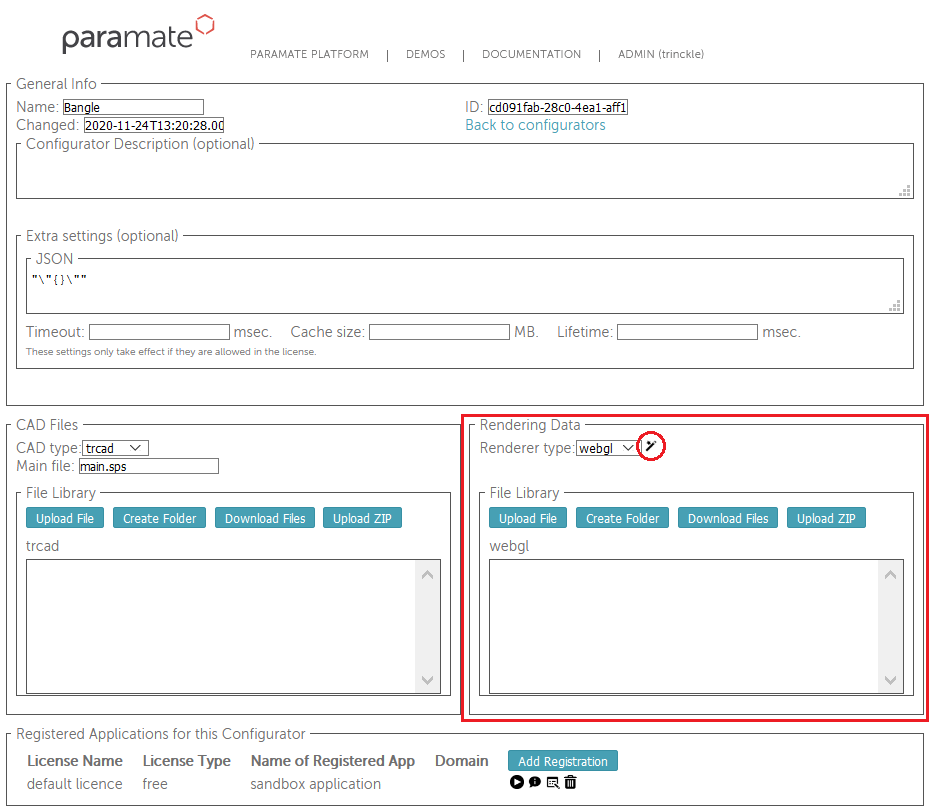
- In the section “Rendering Data” leave the selection “Renderer type” unchanged (webgl).
- Click the wizard icon right next to the "Renderer type" dropdown.
-
Test your Configurator.

- Scroll down and find the section “Registered Applications for this Configurator“.
- Check that there is an entry with a sandbox application. (If this is not the case, contact us.)
- On the right side of the list entry there are a few icons, one being a play button. Click that button (make sure to allow the popup that is triggered). This will open a new web page with a small test interface for your configurator.
- Check the functionality: The rendered 3D model can be rotated by click and drag with the mouse and zoomed with the mouse wheel. The camera can be re-set with a button on the right. Change the length parameter of your box and see what happens. Notice that by default the camera auto-zooms when you change the length. At any time, you can download an STL mesh file of the configured box by hitting the download button on the right.
That’s it already, your first configurator is set up now.
For a real application the next step would be to work on a custom web frontend for the configurator. A basic HTML file with a default setup can be a good starting point. Such a basic HTML file can be auto-generated from the configurator setup page in paramate as well. The button for getting it is right next to the play button you clicked for opening the test page for your configurator, it is the little “i” button.
Where to learn more about paramate?
More documentation and tutorials can be found on the paramate Documentation page.